
Now Skype for Business Online – Cloud PBX is available, we’re already deploying several instances of this new exiting verison. Where customers are willing to leverage Cloud PBX, but couldn’t or wouldn’t get numbers from Office 365 directly, Cloud Connector kicks in.
Where Cloud Connector – and thus Microsoft – assumes you’re using a dedicated SIP Trunk or Gateway, with a leg in your local LAN, there’s still the possibility to use an internet-terminated SIP Trunk.
WARNING: this might be technically possible, but probably isn’t supported by Microsoft, nor by a SIP Trunk provider. Use this for your own reference and testing purposes.
This blog describes the steps to be taken to implement and connect a (Pilot/test) SIP Trunk, terminated/connected over the internet directly instead of VPN or dedicated line.
Topology
Microsoft did a very good job describing the Cloud Connector, which can be found here. Additionally to this, bear in mind the following:
In our situation we’re connecting a SIP trunk from an ITSP, which should be Lync/Skype certified. To get a SIP trunk, we get two endpoints;
- IP A, Port 5060: ITSP (Internet Telephony Service Provider) – sided
- IP B, Port 5068: Cloud Connector ended, public IP Address and default TCP Port
IP and Port A are included in the CloudConnector.ini, IP and Port B are non-existent during the initial deployment.
The cloud connector can be situated anywhere, but there’s one additional prerequisite: we need to add another, physical network connection which we connect to “the internet” directly. Thus, we are able to configure a Direct Public IP in Windows, as SIP Trunking won’t survive any NAT set-up.
Deployment
To deploy a Cloud Connector with an Internet SIP Trunk, start with deploying as usual, and mentioned/described on Microsoft Technet;
- Prepare host server
- Install Sfb Online, cloud connector software
- Configure deployment and prepare cloudconnector.ini
- Prepare BaseVM
- Prepare office 365
- Deploy cloud connector
When all VM’s are done creating and the script reports ALL OK, the fun begins!
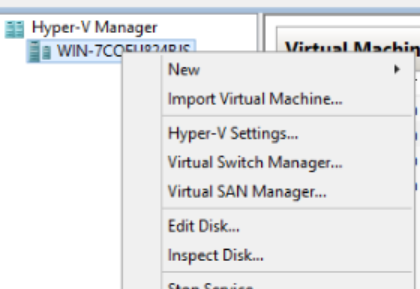
Configure SIP Trunk network
We want the SIP trunk to end up in the “mediation” virtual machine. To get this done, we need to create another virtual network in Hyper-V. This network bind the “SIP Trunk” physical network connection, as described earlier:
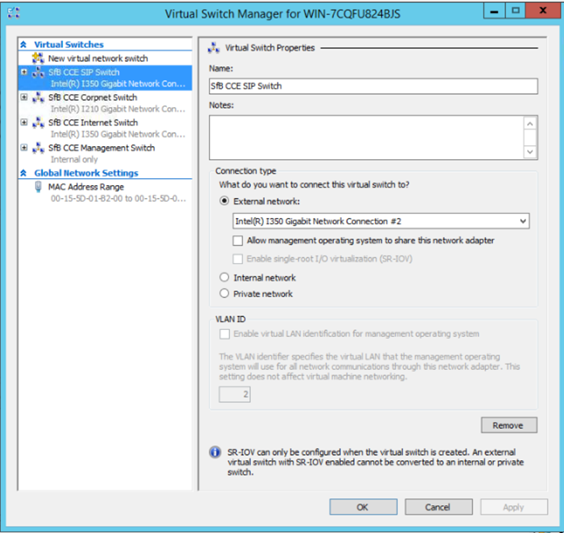
We call it “SfB CCE SIP Switch”, as we used the defaults in Cloud Connector for the other networks and this way, it keeps the same format. However, it’s just a name…
Now, we add a new Virtual Network Adapter to our Mediation Server VM:
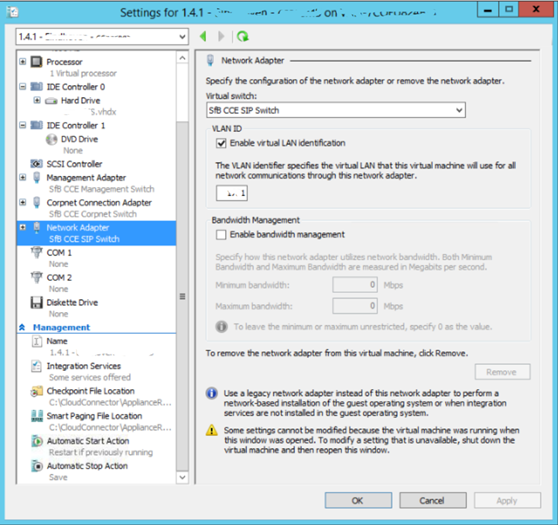
In our topology, we need to set a vLAN ID but this, ofcourse, depends on your network set up. Again: as long as we can configure the real IP in the VM, we’re all OK.
Configure VM
Next step would be to log on to the Cloud Connector. This needs to be done in a console session. We know the password to the VM, as we have given this in during initial deployment.


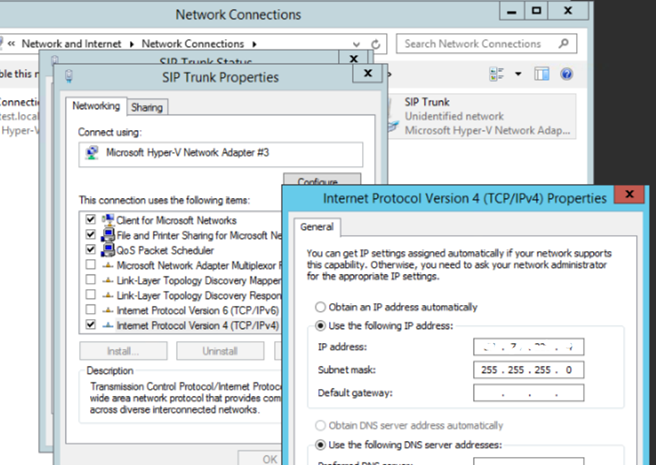
Once signed in, we configure the network topology as we used to in any on-prem situation:
- Locate and Configure Network Adapter with Internet IP:

-
Configure static route:
Of course, again this depends on your SIP Trunk provider’s requirements and your network topology. Either configure default gateway on public IP and define route to internal network, or vice versa – we did the latter to create a little bit more “security”, in addition to our firewall configuration where we only allow traffic between ITSP and our IP.


Now reboot or restart services on the mediation server, and if all correct – job should be done! We can continue configuring and testing Office 365 now.
Again, this is the least secure and qualitative connection we can think of – but it is cheap and fast to set up, fine for initial test set-ups.
Also bear in mind, our next blog will cover a basic troubleshooting method when this isn’t working.